Ticket Example : FAX-923-36935
In IPServerOne, we offered you with a premium mail gateway where it will help you to filter all outgoing emails using SpamExperts. One of the great benefits of the SpamExperts is that the system cluster can be taught. All suspicious e-mails are stored in a Spam Quarantine queue and the clients can mark chosen messages as legitimate.
Those emails that looks like a spam will be block automatically. With this solution, it will help to fix the email delivery issue to hotmail or gmail as well, because the outgoing emails will be delivered from different ip address and not from your mail server ip address. In this way the incoming and outgoing e-mail messages are filtered and the delivery of spam is prevented.
There are 3 places that you need to setup which is in the SpamExpert page, the nameserver and inside the terminal for configuration.
First, Login to the SpamExpert site at https://www.spamexperts.com/

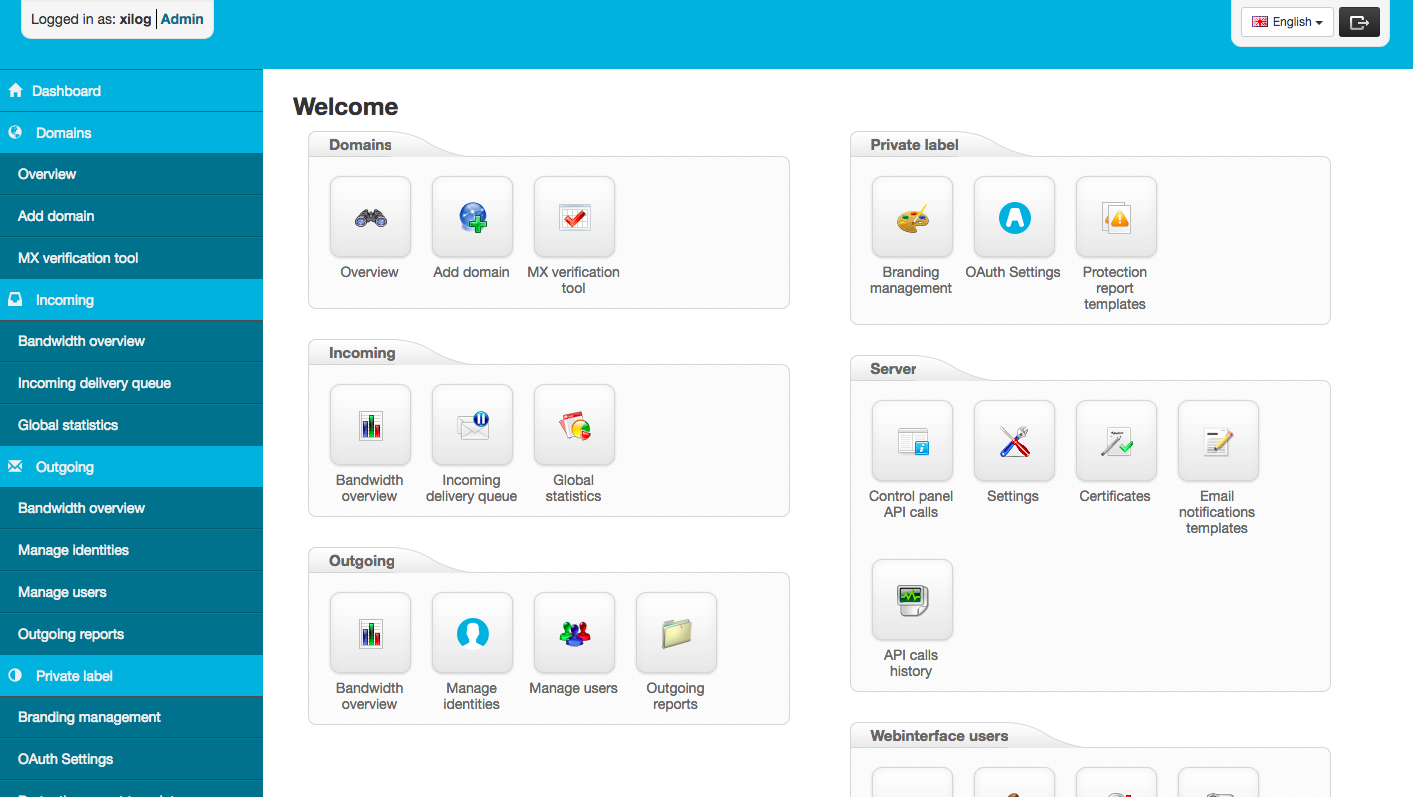
You will see the dashboard whereby it is divided in different sections:
– Incoming section
– Outgoing section
– Protection report section
– Email restrictions section
– Whitelist/Blacklist section
– Webinterface users section
– My account section

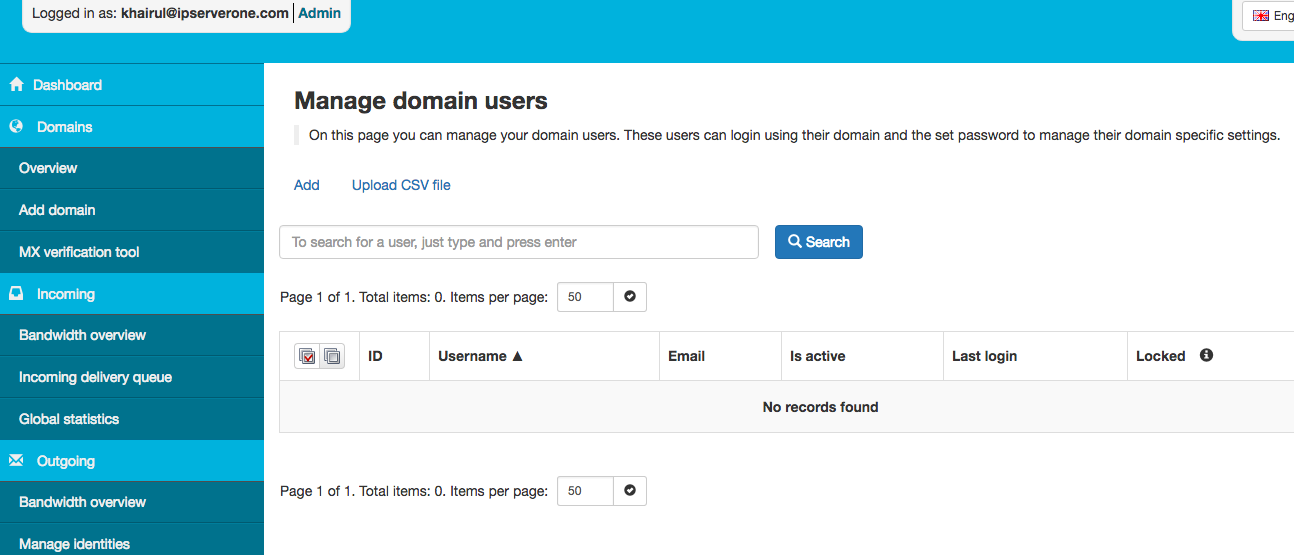
On the left pane, go to web interface user tab and click on manage domain. Then, add domain that you wanted using the “add” button. Fill in all the required information. Next, click add and you can login to the domain account. For example, you have added xilog.com.my
Once you’ve added the domain, you’ll be redirected to the Overview section, which will list your active domains.

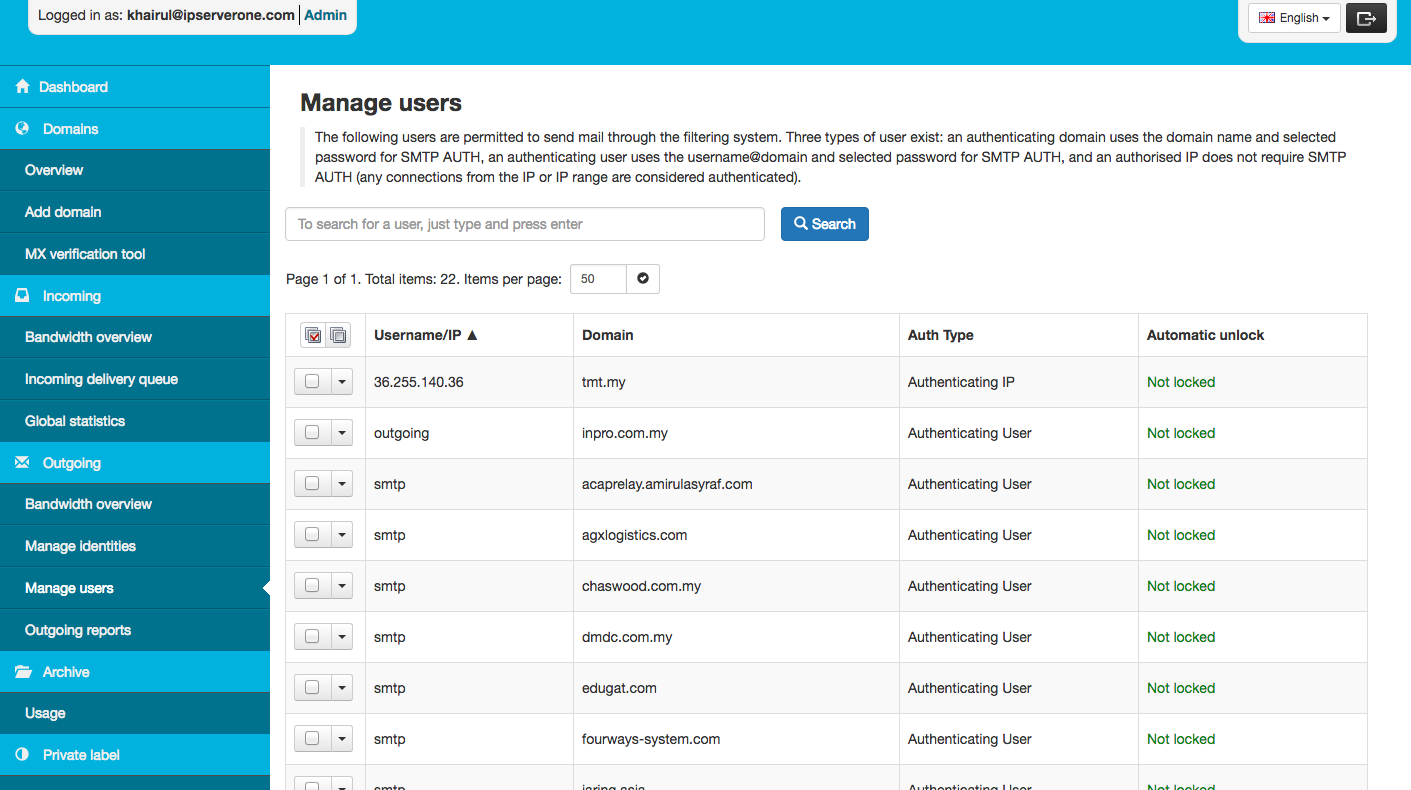
Also, look for “outgoing” tab on the left pane and click manage user. Add SMTP account for email testing purpose.
Using the username and password generated previously, you can login to xilog control panel and explore the features available. For example, click on log search under incoming or outgoing if you like to view the email delivery logs.
Then go to intoDNS and search for the domain nameserver. Copy the SPF record and the MX record.

For example, the server is pdns1.ipserverone.com. Login to the server and paste the SPF record and MX record if the record is empty. Click “commit changes” to save the record.

Lastly, is the terminal.
SSH to the account and execute the command below to enter the edit mode
vim /etc/exim.conf
In edit mode, search for “router” and add the line below
spamexperts_smarthost_router:

  driver = manualroute

  domains = ! +local_domains

  ignore_target_hosts = 127.0.0.0/8

  # Exclude null sender messages from relaying via the smarthost

  condition = ${if or {{!eq{$sender_address}{}} {!eq{$sender_host_address}{}}}}

  transport = spamexperts_smarthost_transport

  route_list = $domain 5488.smtp.antispamcloud.com::587

  no_more
Next, search for “authenticator” and add the line below
spamexperts_login:

  driver = plaintext

  public_name = LOGIN

  client_send = : smtp@xilog.com.my : GHy1ioBNolo0FG
Then, search for “transport” and add the following line. Add the domain needed inside the “domains” . For example, abc123.com
dnslookup:

  driver = dnslookup

  domains = abc123.com : 123abc.com : ipserverone.com : ip.my

  transport = remote_smtp

  ignore_target_hosts = 0.0.0.0 : 127.0.0.0/8

  no_more
restart the service by executing the command line below
etc/init.d/exim
Next, go to the firewall edit mode
vim /sbin/fwup
and add the line below in order to allow the outgoing mails
/sbin/iptables -I INPUT -p tcp --dport 587 -j ACCEPT

/sbin/iptables -I OUTPUT -p tcp --sport 587 -j ACCEPT
/sbin/iptables -I INPUT -p tcp --sport 587 -j ACCEPT
/sbin/iptables -I OUTPUT -p tcp --dport 587 -j ACCEPT
Lastly, restart the firewall. DONE !
/sbin/fwup
**Please note: If you are using SpamExperts to filter SPAM on your domain, we do not recommend using SpamAssassin in addition as SpamAssassin may end up filtering emails. Please ensure SpamAssassin is disabled when using SpamExperts incoming email filtering.