There is a more straight forward way of using Cpanel’s Transfer Tools to migrate accounts between servers.
However, this tool may seem unreliable at times when file sizes are too large.
In this case, I will be using an SME07 account to migrate to a Cloud server with IP 103.57.189.194 as an example.
First thing’s first, both source and destination servers have to have root password authentication turned ON.
To do this, please refer to THIS GUIDE.
We basically would need to generate a full backup in the source server, and then restore it in the destination server.
1. Generate a backup for the user in the source server using the command below. This is a Cpanel script which generates a backup the same way as if you would generate a backup via Cpanel backup feature.
[cc]
/usr/local/cpanel/scripts/pkgacct USERNAME /home/
[/cc]
This will generate a cpmove.USERNAME.tar.gz file under the /home directory.
If the user’s web files are too large, we could always skip backing up the web files by issuing the command below instead:
[cc]
/usr/local/cpanel/scripts/pkgacct –skiphomedir USERNAME /home/
[/cc]
You will now have the cpmove.USERNAME.tar.gz backup under /home.
2. We would need to transfer this backup to the new server. Again, there are many ways to do this, but the simplest and most reliable way as we know, is to use SCP.
If the destination server is using the SSH default port 22, issue the command below:
[cc]
scp /home/cpmove-USERNAME.tar.gz root@103.57.189.194:/home/USERNAME
[/cc]
If the destination server uses a custom SSH port, for example port 9321, issue the command below instead:
[cc]
scp -vC -P 9321 /home/cpmove-USERNAME.tar.gz root@103.57.189.194:/home/USERNAME
[/cc]
Once the command has been issued, it will prompt for the destination server’s root password.
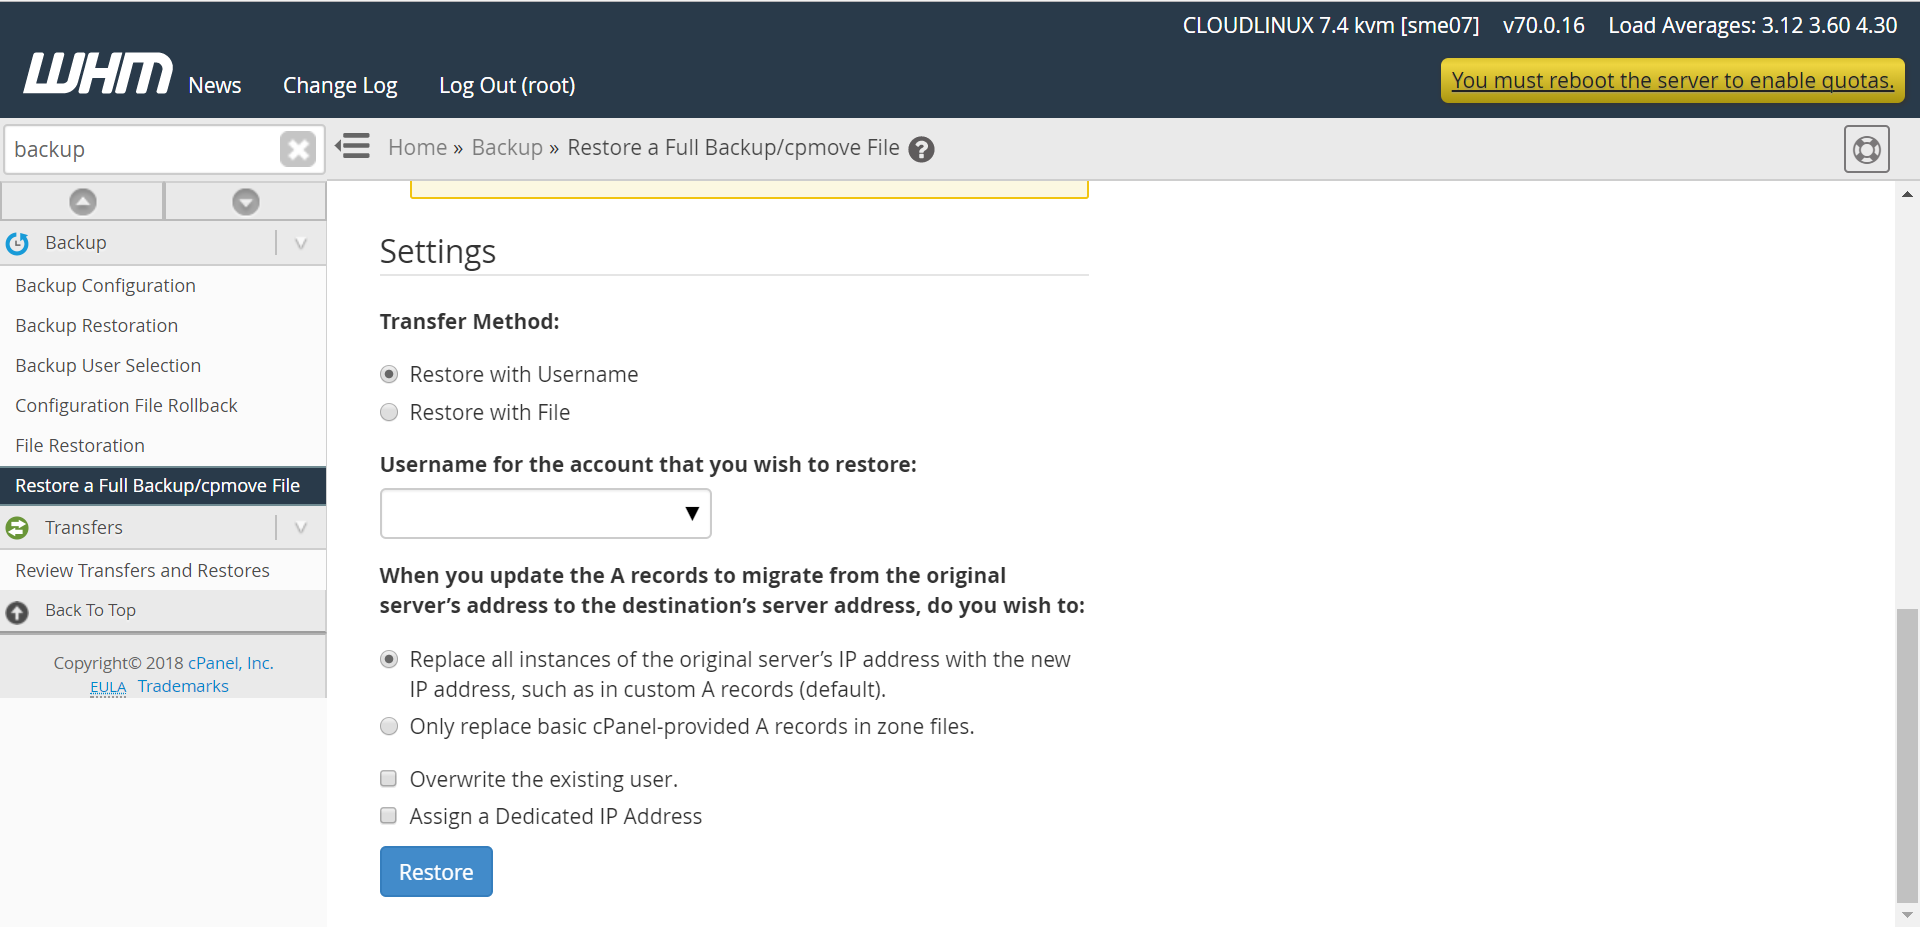
3. Once the file has been successfully transferred, we would need to restore the backup via the new server’s Cpanel. Simply select ‘Restore with Username’ and your preferred settings at the bottom.
If you didn’t skip home directory in Step 1, the migration process is now complete. You can now proceed to point the affected domains over to the new server. You would also be able to login to the new server’s Cpanel using your existing username and password from the old server.
4. If you skipped the home directory in Step 1, you would need to issue the following command in the SOURCE server. Be sure to run this in a screen session.
[cc]
rsync –verbose –group –owner –progress –stats –recursive –times –perms –links –delete –rsh=”/usr/bin/ssh -l root -p 9321″ /home/USERNAME/ root@103.57.189.194:/home/USERNAME/
[/cc]
This rsync command will synchronize the contents of the source and destination servers. You could run this a few times to make sure they’re synced correctly.
Once the rsync is done, you can then proceed to point the affected domains over to the new server.
The account migration is now complete.